

When I first opened
But
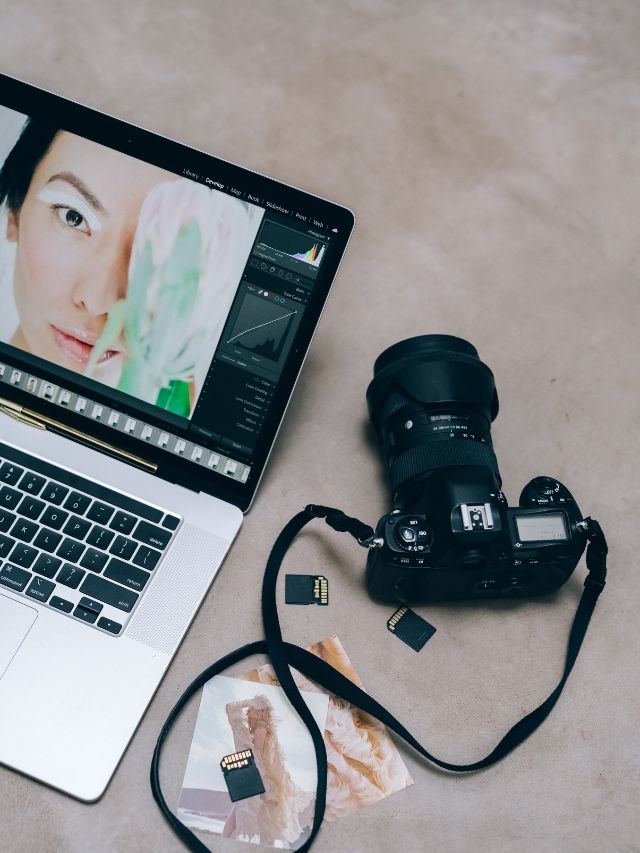
No one can learn all of
1. Develop A Consistent Workflow
A consistent and repeatable workflow is the single most important factor for both efficiency and developing a consistent and noticeable style.
This is something that even professionals sometimes fail to do.
This isn’t something that you can do immediately but mores so something that you will develop as you edit more and more photos.
Start by taking notes about how you edit a photo. I still do this by keeping a small notepad near my computer. You don’t need to write down every detail, but keep track of the basics.
Over time, you’ll discover that you tend to make the same adjustments to a large majority of the images. Take stock of that tendency. Is it an effect you like? Is it helping your images overall? What happens if you take a different approach?
Answering these questions will help you identify your preferred workflow and then challenge you to make it better.
Once you see a pattern developing, look at that pattern to see if you are approaching those edits in the best order. Some edits work better early on (like exposure or white balance) and some are best left to the end (like sharpening and noise reduction).
If you can do this, then you’ll be steps ahead of most photographers.
Having a solid workflow and system for editing your photos is by far the most important element of good photo editing in Lightroom. I share my entire workflow in this course…
2. Cull Your Photos Aggressively
“Culling” your photos is the process by which you choose the keepers and rejects.
Part of the beauty of digital photography is that you can take a lot of photos and experiment with various lighting, poses, and compositions without spending money on film. The downside is that you can end up with a lot of bad shots to go through at the end of the shoot.
That’s ok…don’t stop experimenting.
But being able to cut out the bad images is important to creating good photography. Not every image is going to be a work of art….and certainly not every image needs to be editing and posted online!
Be critical of your own work. Hold yourself to a high standard.
When you cull your images, don’t be afraid to get rid of a lot of the images. Don’t worry, you don’t have to delete them in
Culling your images aggressively lets you focus on the best ones and give them the time and attention you need to bring out the best in those images.
3. Use presets
This may be a controversial opinion, but
As a beginner with
That’s where Lightroom presets can come in handy. Most well designed
But you can dig a little deeper than that and after you use the preset, take a look at the adjustments that the creator used to create that look. Then you can experiment with similar settings on those same adjustments and learn how they impact your photo.


4. Start With White Balance

White balance is the first thing I do on almost every image.
There is a reason it’s all the way at the top of the basic panel of
By ensuring that you start with a correct white balance, you will have a much easier time with your edits moving forward.
I suggest avoiding using the white balance sliders to add creative color grading to your images to start with (more about that is coming up). The reason for this is that starting with a baseline white balance that gives you correct colors, especially when it comes to skin tones of people in the image.
By having an accurate color image to start with, it allows you to experiment with different color grading as much as you want while always having a baseline image to come back to. I’ve also found that creative color grading just seems to look better when you have a “correctly” colored image to work from.
5. Learn To Control Color
Color grading is something that beginners often forget about.
You may be wondering why I separated this from white balance…after all, white balance is all about color, right?
Generally, when someone refers to color grading, they mean using color to create an artistic “look” to the image. This is a little different from white balance which is more about establishing the baseline of the “true” color of the image.
I think it’s important to look at them as separate. You should use white balance to correct your image to get things such as skin tone looking accurate. Once you have that baseline to work from, you can use other tools in
My favorite
Split toning allows you to add a hue of color to the highlights and a different hue to the shadows. Then you can adjust the saturation of each one to create the look you want. You can also use the “Balance” slider to change where
While the Split Toning is not nearly as precise or powerful as the tools in
6. Recover Highlights and Shadows

While we are talking about highlights and shadows, let’s talk a little about recovering the detail in those areas.
In almost every image I take, I end up raising the luminosity of the shadows and lowering the luminosity of the highlights.
Modern cameras are pretty amazing and can capture a wide range of luminosity (we call this “dynamic range”). But most screens and prints where the images will be displayed have a smaller range.
So that means you’ll often have to lighten up the shadows and darken the highlights. By doing this, you can recover some of the detail in these areas and ensure that the end viewer can see that detail.
You may not have to do this on EVERY image, but it is something you do need to be aware of and think about for every image.
7. Don’t Forget To Sharpen Your Images
Even the best digital cameras produce files with a bit of sharpness lost. That’s just a product of the way digital sensors work.
So if you’re not doing any sharpening in
Sharpening the image to recover some of the sharpness naturally lost in RAW files is something called “deconvolution sharpening” and there’s a simple way to fix it. Just set the “Radius” slider all the way to the left and the”Detail” slider all the way to the right. Then view the image at 100% and adjust the overall strength of the sharpening to be visually appropriate. It’s also a good idea to add some masking to ensure that the out of focus portions of your image have no visible noise.
8. Get Used To Syncing Global Edits
If you are shooting a lot of images in the same lighting, learn to use
Doing that can literally save you HOURS of unnecessary work.
More often than you think, you’ll end up taking a bunch of photos in the same location and with similar or same lighting conditions. That is a perfect time to use the “sync edits” function in
The way to use this effectively is to spend the time you need to get the first of the photos in any given series of similar images looking the way you want. Do everything except any local adjustments that you may want to use (such as the radial filter, brushes, spot removal, etc.).
Then you can hold down the “Shift” button and click on the last image in the series. You’ll probably notice that the first image you selected is highlighted a little more than the rest. That means that the image is your source image.
Now when you click the sync button in the lower right.
However you do it though, get comfortable with the sync function and you can spend less time repeating adjustments and more time being creative.
9. Do Local Adjustments Last
I always save the local adjustments for last.
There are two reasons for this.
First, I like to do all the necessary global edits first so that I can use the sync function to sync those global edits across similar images. Local adjustments almost never work very well with syncing.
Second, local adjustments tend to use a lot of computer resources. That means that they can slow down your computer a little if it’s not running a particularly speedy set of specs.
Saving the local adjustments for last can avoid some of the headaches that comes along with a slow computer.
10. Dodge and Burn
Like color grading, using a brush for dodging and burning can take an image from a snapshot to professional-looking almost immediately.
In fact, I would argue that simple dodging (lightening) and burning (darkening) specific portions of the image can give you the biggest improvement in an image for the small amount of time you need to spend on it.
Dodging and burning can be an entire course all on its own so let’s cover a few generalities.
Use dodging to bring attention to areas of the image that you want the viewer to focus on (such as the eyes of a person).
Use burning to minimize attention on areas that are unimportant (such as the background of a portrait).
Use small detailed dodging and burning to bring out detail in an image (such as texture in someone’s hair or the details in the foreground of a landscape image).
11. Keep It Simple
Keeping your process simple and repeatable will have long term benefits on both the efficiency of your time spent and the quality of your final products.
Always look for a simpler way to accomplish the same thing. It may take you some time to learn initially, but that discovery can save you a lot of time in the long run.
Simplifying also can help your creativity.
Having a simple and repeatable process for the edits you do on a regular basis frees up your mind to think about creative things you can do with an image. It also lets you work off of a consistent baseline that you can keep coming back to if the experiment’s don’t work out too well.
Overall, if you’re new to
Over time, you’ll start adding to your skills and before you know it, you’ll have developed your own process and workflow.
But don’t stop there.
Keep working on making it better.
Eventually, you won’t be a
And if you want some extra help to really get all the basics of